Search documentation
Find a documentation page by the words on it.
Documentation
Signing Up and Onboarding
Your clinic sends you a link by email or text to set up your Serelora account. Opening it takes you through three short sign-up pages, then a set of intake steps that tell your care team what they need to know before your visit. Serelora saves your answers as you go, so you can stop and come back.
Step 1: Open the link from your clinic
The email is titled "Complete your intake with your care team" and has a Start intake button. A text message says "Complete your intake:" followed by a link.
Use the link your clinic sent you, rather than the Sign up link on the sign-in page. It connects your new account to the record your clinic already started for you.
The link works once and for 7 days. If it says "Invalid or expired registration link", ask your clinic to send you a new one.
If you already have an account, the button says Continue intake instead. Sign in with the email and password you made.
Step 2: Create your account
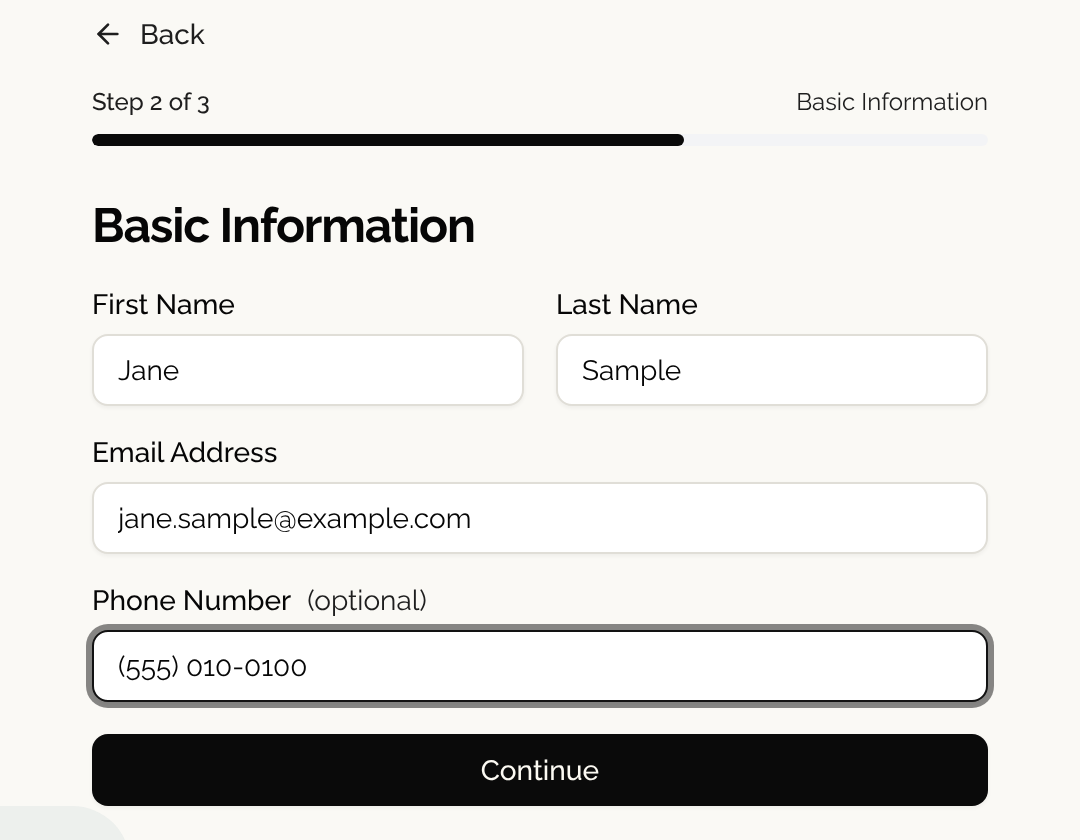
Sign-up has three pages. Your name, email and phone may already be filled in from what your clinic has on file. Check them.
- Welcome. Read it and select Continue.
- Basic Information. Confirm your First Name, Last Name and Email Address. Phone Number is optional. Select Continue.
- Legal & Consent. Tick that you accept the Terms and Conditions, the Privacy Policy and the Medical Records Consent. All three are needed. Select Complete Sign Up.
Step 3: Check your email and set a password
You will see Check Your Email. Serelora has sent a verification email to the address you gave. Open it and select the link. The link works for 24 hours. If you cannot find it, look in your spam folder.
On the next page, enter a Password and Confirm Password. It must be between 14 and 128 characters. Select Set Password & Verify Email. You are signed in and your intake begins.
Next time, sign in with your email and password under Patient Sign In. If you forget your password, choose Forgot password?.
Step 4: Work through your intake
Your intake is a row of steps across the top of the page. Select Begin Form on the first one, then work forward.
| Step | What it asks |
|---|---|
| Welcome | A preferred name, and an emergency contact. You can choose I decline providing for the emergency contact. |
| Verification | A photo of the front and back of your government ID. See Scanning Your ID and Insurance Card. |
| About You | Your date of birth and sex at birth, which are required, plus your address. Check what Serelora read from your ID. |
| Coverage | Your insurance card, or your plan details typed in. Clinics that do not bill insurance skip this step. |
| Medications | Photos of your medication labels, or typed in. You can choose I don't take any medications. |
| Records | Upload recent labs or reports, or choose I have no records to upload. |
| Care Team | Providers you have seen recently, or I haven't seen any healthcare providers. |
| Synthesis | A guided set of questions about your health history, which ends with a summary for you to review. |
| Legal | Your clinic's consent forms. See Intake Forms and Consents. |
Some steps keep Next switched off until you answer. A short line under the step says what is missing. On the last step the button reads Finalize.
When you finalize, your intake is complete and you cannot run it again. If something needs changing afterwards, tell your clinic.
See also The Health History Interview, Signing In to the Patient Portal and Spanish on the Sign-In Pages.