Search documentation
Find a documentation page by the words on it.
Documentation
AI Scribe for a Primary Care Visit
Use the AI scribe to turn a patient visit into a draft note in the chart. You record the conversation, read and fix the draft, and sign it yourself. The scribe never signs anything.
What you need
- A browser that can record audio, such as Chrome or Edge, or the Serelora Provider app on your phone.
- Permission to edit charts to work on the draft: Admin, Physician, Physician Assistant and Medical Assistant have it by default. Only Admins and Physicians can sign. Physician assistants and medical assistants send the note for co-signature.
- The patient's permission to record. Serelora asks you to confirm it before the first recording.
- If your clinic uses visits, check the patient in first. Serelora then files the scribe's note under the open visit.
Step 1: Open the AI Scribe on the patient's chart
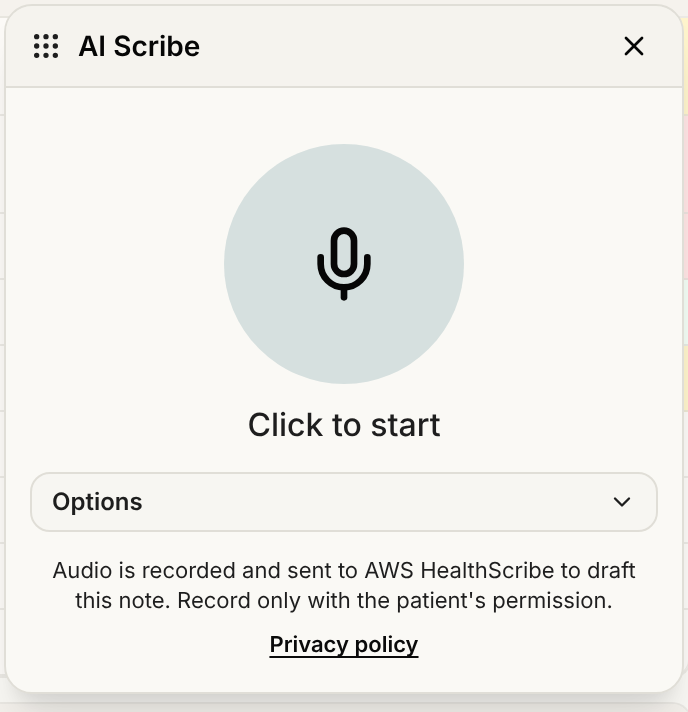
Open the patient from Patient List and select AI Scribe in the top bar. A recording started from a patient's chart goes to that chart. See AI Scribe Overview.
Step 2: Confirm the patient's permission
The first time, a dialog titled Recording and AI transcription asks you to confirm that you have the patient's permission. You see it once. For what it says, and how a clinic can give patients its own consent wording, see AI Scribe Patient Consent.
Step 3: Pick a note template
Select Options and choose a Note Template before you start, because the options are hidden while you record. History & Physical is the default and Physical SOAP is also offered. Serelora remembers your choice. See Recording a Visit on the Web.
Step 4: Record the visit
Select the large microphone circle and see the patient as usual. Pause and Resume hold the recording, and Minimize shrinks the panel to a small recorder you can drag while you work. A running recording cannot be closed, only stopped. Select the red circle when the visit ends. On a phone, use the Scribe tab instead. See Recording on the Serelora Provider App.
Step 5: Open the draft
In a few minutes a notification reads Scribe note is ready. Select View note, or find the row in the chart's Documents tab, where it shows Voice scribe draft in the Source column.
Step 6: Review it against the transcript
Read every section, not only the ones you expect to matter. Select Show Transcript to see what was said, and click a note sentence to see the transcript lines behind it. Fix names, doses, values, the assessment and the plan, and fill in any bracketed placeholders such as [Patient Name]. Serelora saves as you type. See Reviewing a Scribe Draft Note.
Step 7: Sign or send for co-signature
Admins and Physicians select Sign, type a signature and select Sign and finalize. If the note is filed under an open visit, you can close the visit in the same step. Physician assistants and medical assistants select Submit for Review. See Signing a Note and Co-Signing Notes.
After signing, a correction is an addendum. See Addenda. To hand the note to someone, see Exporting a Signed Note as PDF.
What Serelora does not do
- It does not sign or finalize the note. A scribe note stays a draft until a person with signing permission signs it.
- It can miss or misstate something. It drafts from audio. Check the draft against what happened in the room.
- It offers a fixed list of seven templates. On the web, AWS HealthScribe is the only scribe provider you can use, and its templates are History & Physical, Physical SOAP, Behavioral SOAP, DAP, BIRP, GIRPP and SIRP. There is no primary-care-specific template.
- It does not ask the patient. The permission is yours to obtain. Serelora records that you agreed, not that the patient did.
If a recording is interrupted, see Recovering or Discarding an Unsent Recording. For microphone problems, see AI Scribe Microphone Problems.