Search documentation
Find a documentation page by the words on it.
Documentation
Appointment Scheduling Workflow
This page strings the scheduling pieces into one workflow for the front desk: set the calendar up once, book and change appointments through the day, let patients help themselves, and keep patients informed.
What you need
- Role. All six standard roles can book, move and cancel appointments. Only an Admin can add or change appointment types. Each provider sets their own working hours.
- Patients. The patient must exist first. You can add one while booking.
Step 1: Set up the calendar once
- Appointment types. In Calendar settings, the Appointment Types tab names the kinds of visit, such as new patient or follow-up, each with its own color and shape. See Appointment Types.
- Working hours. Each provider sets the hours patients can book them in the Working hours tab. A provider with no saved hours cannot be booked online. See Working Hours.
- Blocked time. Mark lunch and meetings with the Other tab. See Blocking Time on the Calendar.
Step 2: Book an appointment
Select Create on the Calendar, choose the patient, check the provider and time, and select Create. Add the type, modality, location and reason afterward in Edit appointment. See Booking an Appointment.
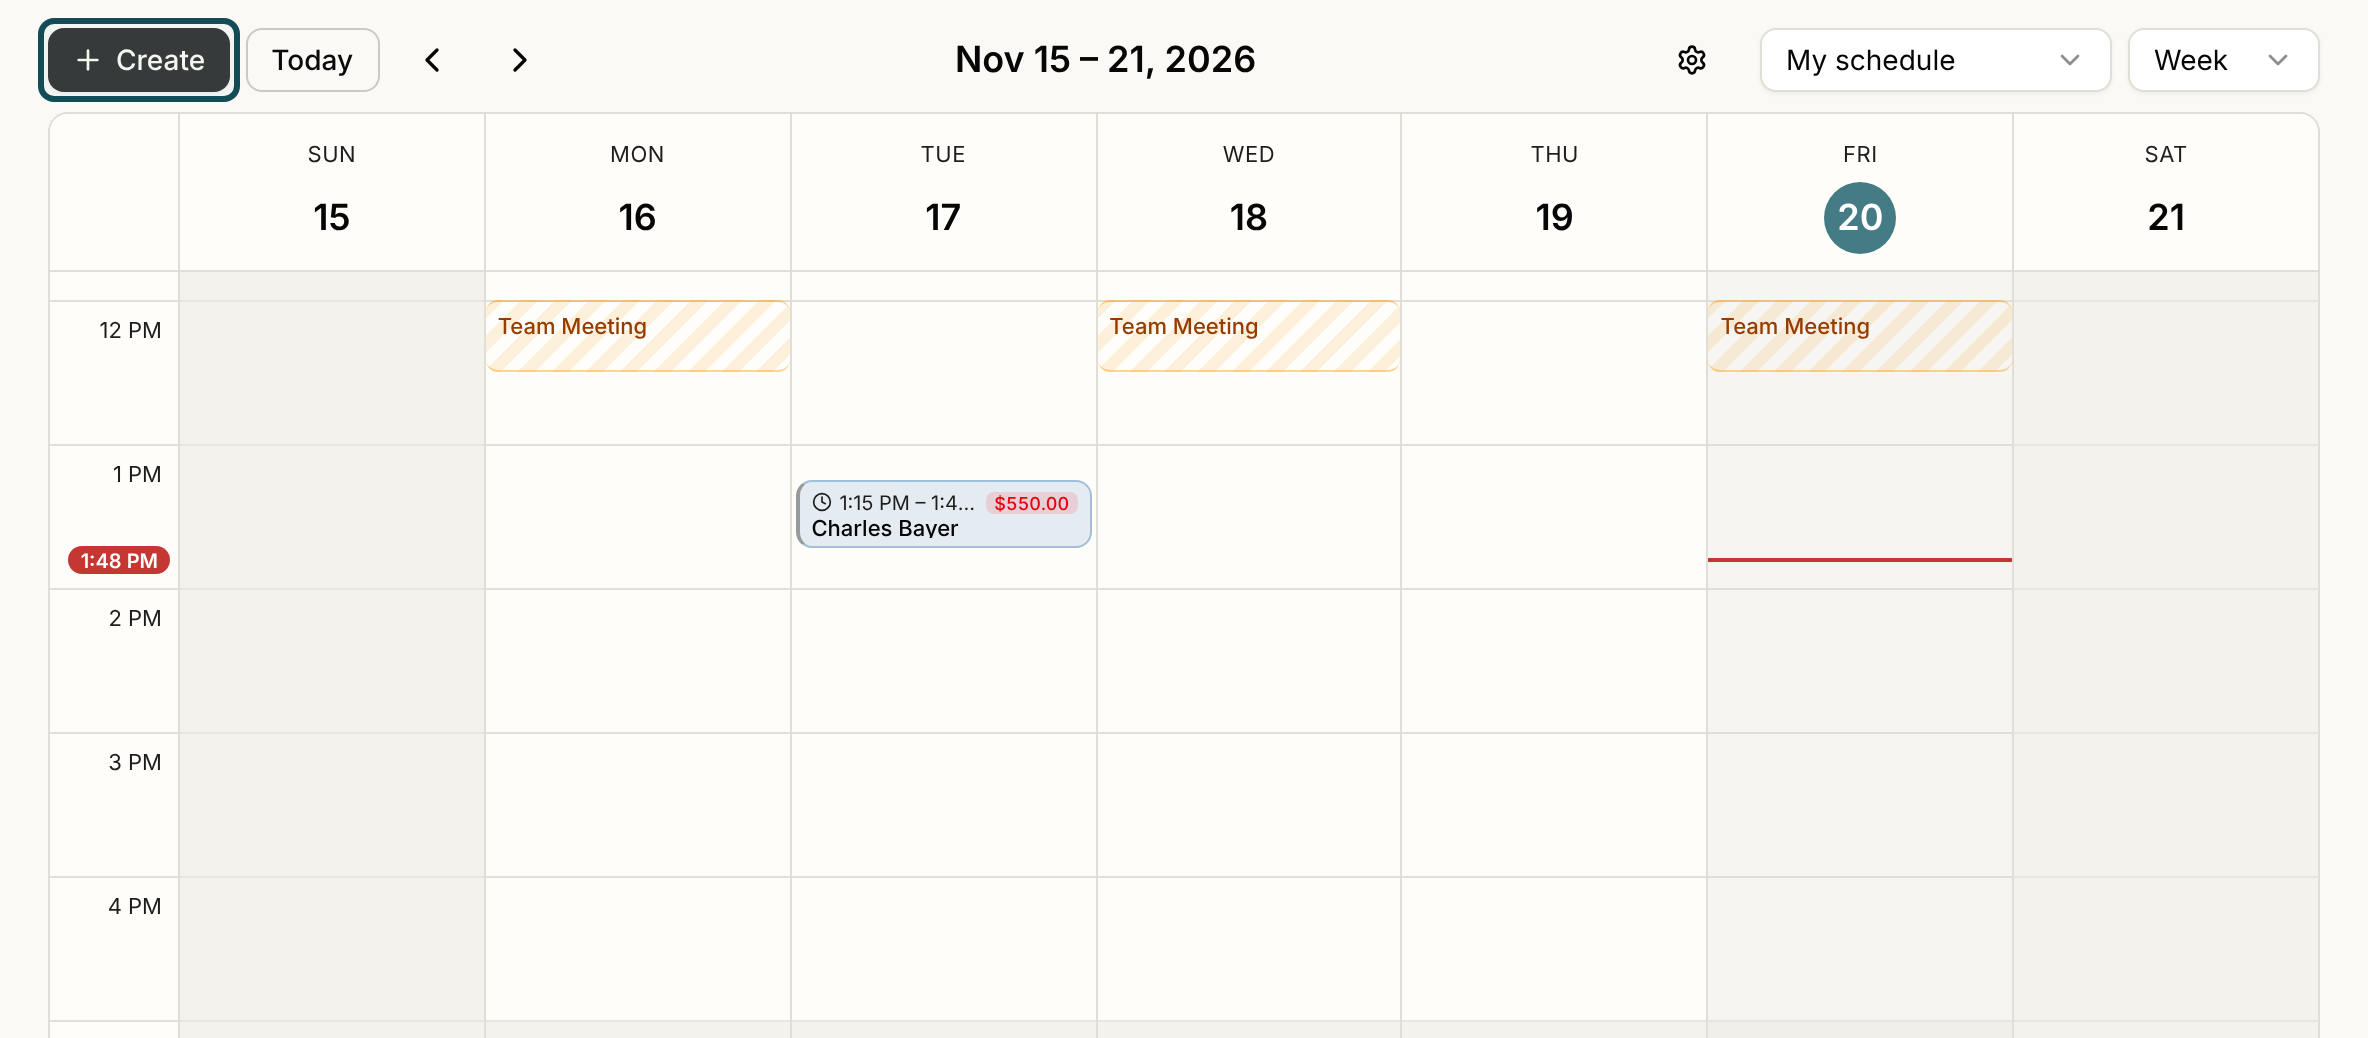
The Calendar does not check for double booking, so look at the provider's column first. Choose All providers in the schedule selector to see everyone. See The Calendar.
Step 3: Move or cancel
Drag a block to a new time, or open its card to change the status or cancel. A cancellation can carry a reason. See Rescheduling and Cancelling Appointments and Appointment Statuses.
Step 4: Let patients book and change their own
In the patient portal, the Appointments page lists upcoming and past visits. Each upcoming appointment has Reschedule and Cancel buttons, and the page offers Book in Chat, where the portal's chat assistant finds open times with a provider. The assistant only proposes. The appointment is created when the patient confirms the card.
Patients are offered only times inside a provider's saved working hours that do not overlap another appointment, and only providers who have an NPI on file. If a provider's hours are not set, patients see no online booking for them. If a patient cannot reschedule on their own, the portal tells them to call the clinic.
Step 5: Book by asking
On the phone with a patient, you can ask the chart agent in their chart to book, move or cancel, then review and approve the proposal. See Scheduling with the Chart Agent.
Step 6: Keep patients informed
With appointment reminders on, a confirmation goes out when you book, and moved and cancelled notices go out when you change it. See Appointment Reminders and Reducing No-Shows.
Step 7: On the day
Check patients in, or start a walk-in for someone with no appointment. See Patient Check-In at the Front Desk and Walk-In Visits. Afterward, close out missed appointments. See Closing the Loop on a No-Show or Cancellation.
What Serelora does not do
- It has no waitlist that fills a cancelled slot. Waitlist is a status you can set on an appointment as an internal marker. The patient is told nothing and nothing moves.
- Blocked time does not remove times from patient self-booking or from the chart agent's scheduling.
- The Practice Agent can look up appointments across the clinic but cannot book, move or cancel them.